We moved
into our house 5 years ago after one of the biggest snowstorms of the century and
surveyed the snow covered backyard. This
stirred dreams of building as gargantuan a garden that the space could stand
come spring.
We built
that garden, and come fall, it was time for my tulip bulb planting
extravaganza. I must have planted over 50
bulbs back there and each and every one had fallen victim to my nemesis…SQUIRRELS! To them, each bulb planted was a personal
invitation to dinner…or play…or whatever they do with the things after they dig
them up. Needless to say I had no tulips
in my garden the next spring, but there were plenty on the other side of the
fence where the squirrels had decided was a much better place for the dancing
beauties.
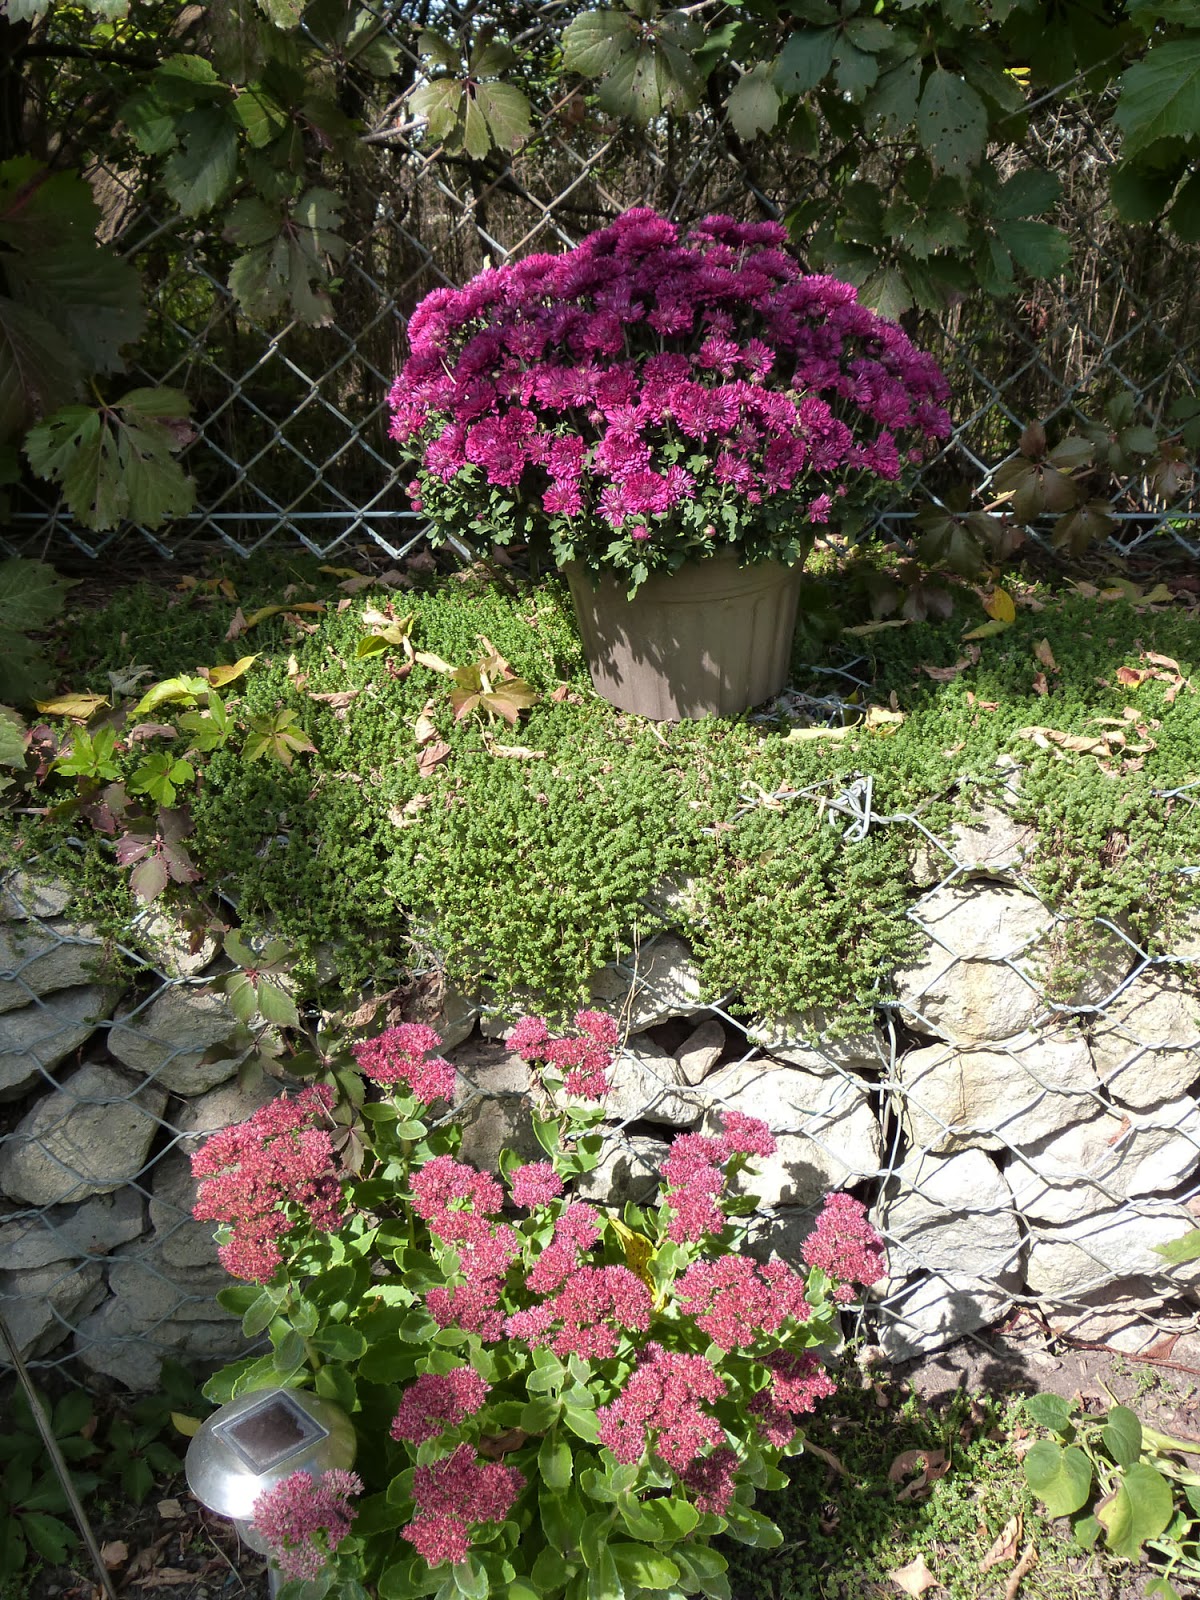
They are
farther away than I would like, but they are still beautiful.
Time seems
to be marching on at an uncontrollable pace.
How can my oldest son be starting high school and my youngest…the
baby…starting kindergarten in September??
Soon they’ll be out of the house and on the other side of the fence like
my tulips...or in their own houses with their own families I guess. Which would be better than the other side of
the fence because all that is there are train tracks, squirrels and tulips.
Carter, my
little one, had his Kindergarten orientation this week, which I suppose is
arousing all these clingy feelings in me.
He watched intently as I held out my hand to introduce myself to the
principal. He waited for our exchange to
end, and then offered his own hand out to her along with a mighty, “Hi, I’m
Carter Hughes”. Where did this baby/man
come from? Wasn’t it just an hour ago I
gave birth and brought him home from the hospital along with the terror of what
to do with him next? I guess we figured
it out. The principal certainly thought
so.
This pic is
from orientation night. Everyone got a
kids fun package to take home, and inside, along with the array of colouring
activities, books and 1 lollypop, were a pair of sunglasses along with a
business card from the local family optometrist. I guess nothing says family optical target market
perfection quite like the gathering of pre-schoolers at the annual kindergarten
orientation trade show. Huh.
In honour of
our growing kids, I’m featuring a fun and easy recipe for those Solid
Food Professionals out there of 12 months +. At 12 months, baby is ready to enjoy a wide
array of foods and is eager to experience new tastes and textures closer to
what their family is regularly eating. These
chicken quesadillas are a great way to introduce a new flavour into baby’s
repertoire and is the perfect finger food for them to enjoy with you at the
table. It also packs a great nutritional
punch with the assortment of veggies, protein and dairy incorporated.
Ready…Set…Evolve…
Arriba, Arriba, Quesadilla!
Age –
12 Months +
Ingredients
·
1
tbsp. plus ½ tsp. of butter
·
1
small boneless skinless chicken breast
·
1
tomato
·
¼
cup of diced onion
·
¼
cup of diced green pepper
·
¼
cup of corn niblets from cooked corn on the cob
·
Pinch
of cumin and coriander spice
·
2
soft 12” tortillas
·
¼
cup of grated cheddar cheese
Baby Steps
1.
Peel, seed and dice tomato using the boiling water method. For details check out a previous blog, “Bye,Bye, Spontaneity”.
2.
Dice onion and green pepper and set aside.
3.
Boil corn on the cob in pot with lid until cooked through, approx. 12
minutes. Set aside.
4.
Melt 1 tbsp. of butter in large sauté pan over medium/high heat.
5.
Chop chicken into small pieces and add to melted butter in pan. Cook until brown all over, approx. 6 minutes.
6.
Remove chicken from pan and set aside.
Add diced onion and green pepper to pan and reduce heat to medium. Sauté until tender, approx. 3 minutes.
7.
Slice corn off of cooked cob and add ¼ cup of the niblets to the sauté
pan along with the veggies. Continue to cook
for 1 minute. Save the rest of the corn
from the cob for finger food for baby to have later that day if you want…or
treat yourself.
8.
Add diced tomato to veggies in pan and continue to cook for another 2
minutes.
9.
Add chicken back into the pan with the veggies along with a pinch of
coriander and cumin spice. Stir together
well then turn heat down to low.
10. In another pan large enough to fit
the 12” tortilla, melt ½ tsp. of butter over medium/high heat, then add 1
tortilla to pan and cook for approx. 1 minute on each side. Remove and repeat with 2nd
tortilla.
11. Keep 1 tortilla in pan and reduce
heat to medium. Add all of the chicken
and veggie mix onto tortilla plus the grated cheddar. Place 2nd tortilla on top and
continue to cook approx. 1 minute until cheese is melting and tortilla is
browned.
12. Flip quesadilla over to cook other
side for 1 minute more until browned.
13. Remove from pan and let cool.
14. Use a pizza cutter to cut some into
finger food sized pieces for baby, and triangles to share with other family
members.
15. Serve immediately.
Makes – 1 serving for baby plus 7 wedges for
other family members.
Note: This dish isn’t just for baby, it makes a
great family meal. Double the recipe and
add a bit of salt and pepper and chilli powder to the chicken veggie mixture
used in the rest of the family’s portions to kick up the flavour a bit. Serve with salsa and sour cream for dipping
and a side salad. Olé! Dinner is served! Maracas are optional but always encouraged.
I know our
kids must grow and we must grow along with them. I just wish it didn’t happen so fast. Eventually they may be farther away from home
than I would like, but they will still be beautiful.